Disclaimer: Some of the links this post may be affiliate and Amazon Associate links where I will earn a small commission at no extra cost to you.
A glass candle plate, a favorite fabric scrap, and a strong magnet can become a really cute, personalized pin holder for your sewing room. The fabric shows through the glass, while the magnet underneath helps keep your pins in place. No sewing machine required!
This is one of those projects you can make to fit exactly what you love. Go with puppy paw prints, a quilt-inspired design, or a bright floral. Make one for yourself, give it to someone who loves to sew, or leave off the magnet and turn it into a little trinket tray.
Step 1: Gather Your Supplies and Choose a Dish
Here is what you need for this DIY magnetic pin holder:
- A clear glass pillar candle plate with a flat bottom
- A fabric scrap large enough to cover the bottom of the plate
- A strong ring magnet that fits underneath the plate
- Mod Podge
- E6000 adhesive
- A foam brush
- A Sharpie or similar marking pen
- Large fabric scissors
- A baby wipe for cleaning up excess Mod Podge
- Pins or safety pins for testing
Find supplies in my Amazon Shop for No Sew projects
I picked up my glass pillar candle plate at Hobby Lobby and my strong ring magnet at Lowe’s. I used E6000 because that was the craft adhesive I already had. I like keeping a few little tubes around rather than one large tube, since I do not use this kind of glue very often.
Check the fit of your magnet before you begin. Your dish needs to be large enough to accommodate it, with enough surface underneath for the adhesive to make contact.
A small bowl is another option, with or without a pronounced lip. Just check the bottom carefully. Some bowls have only a narrow area available for gluing. For this fabric scrap project, I prefer a flat glass candle plate because attaching fabric to a flat surface is much easier than working around the curves of a bowl.
Step 2: Choose Your Fabric and Center the Design
This is the fun part. Pull out your fabric scraps and place the clear plate over a few different prints. You can see right away how each fabric changes the look.
I started with a Paris print featuring the Eiffel Tower and fleur-de-lis. Then I tried a yellow, quilt-inspired fabric and a print with little covered bridges. Those bridges fit nicely inside the circle, but I finally chose a navy fabric with bright yellow sunflowers. Sometimes the scrap bin changes your plans!
Move the glass around until the part of the print you like best is centered. Pay attention to any prominent flowers, pictures, or words. Whatever sits beneath the plate now is what will show through the glass later.
Keep the fabric right side up while choosing your placement and tracing. Drawing on the back makes it harder to control which part of the design ends up in the finished dish.
Step 3: Trace, Cut, and Check the Fabric Size
Hold the plate steady on your chosen fabric and trace around its outside edge with a Sharpie. You will cut on the line or slightly inside it, so the marked edge can be removed.
Use your larger fabric scissors to cut out the circle. Here is my little cutting tip, learned back in my scrapbooking days: use as much of the scissor blade as possible for each cut.
Small, repeated snips create more stopping and starting points, which can make the edge look uneven. Instead, position the fabric toward the back of the blades, make a long, smooth cut, and reposition as needed to continue around the circle. I cut just inside my black outline.
Before getting out the glue, place the fabric against the underside of the plate and check all the way around. You do not want fabric sticking out beyond the glass.
The ideal fit leaves a tiny bit of glass visible around the fabric, but not a wide border. Trim any areas that extend too far.
Step 4: Attach the Fabric to the Underside with Mod Podge
Turn the plate upside down and brush a generous coat of Mod Podge over the bottom. This first coat is what adheres the fabric to the glass.
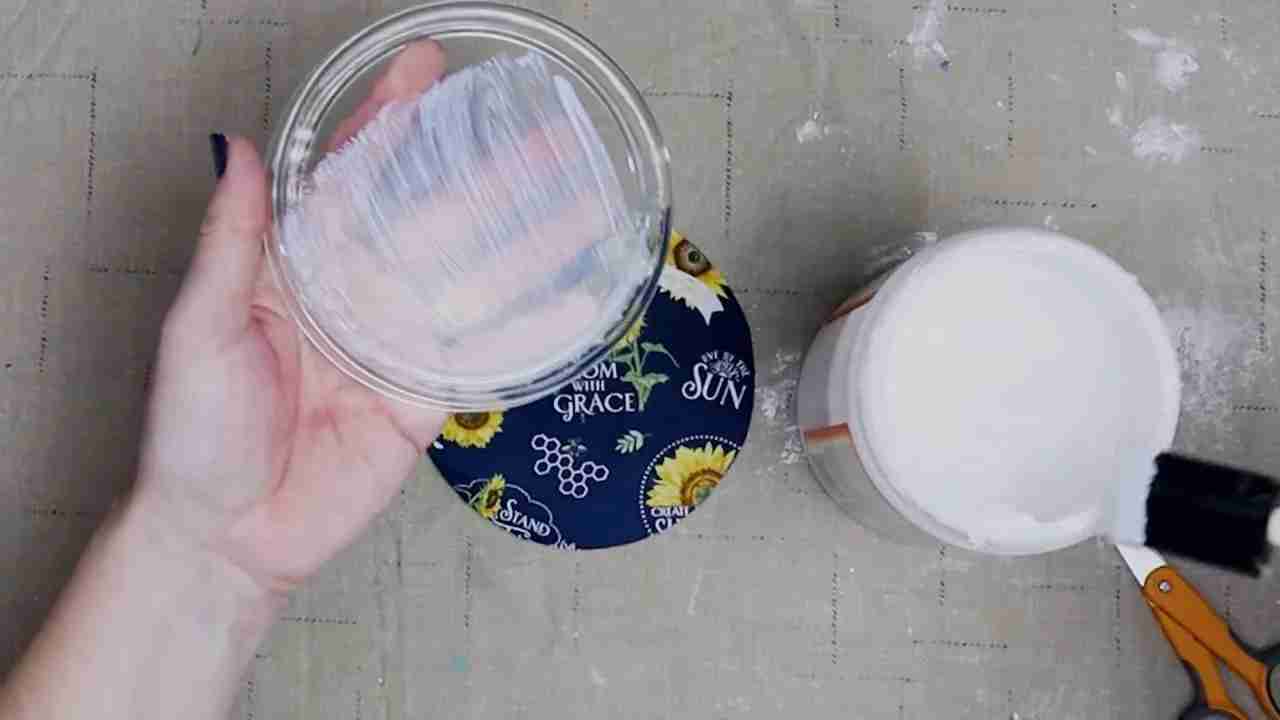
If your Mod Podge lid has glued itself shut, running the lid under hot water can help loosen the dried glue. Mine always seems to need a little encouragement when it has been sitting for a while!
Set the coated plate down with its underside facing up. Place your fabric circle onto the wet Mod Podge with the right side facing down against the glass. The wrong side of the fabric should face you.
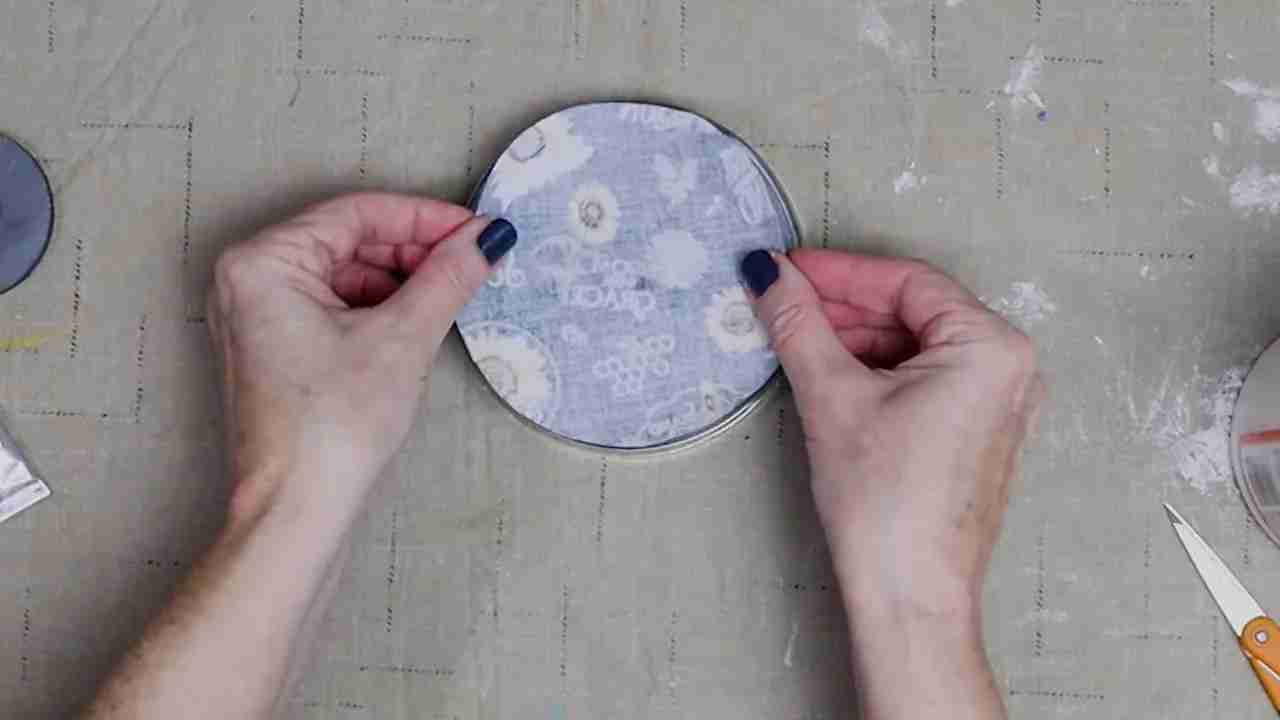
Press the fabric down so it makes contact with the coated surface. Flip the plate over briefly to check the design.
It may look a little cloudy at this point. That is the wet Mod Podge, not a problem with your fabric. It dries clear.
This is good old-fashioned decoupage with fabric. I love how these familiar crafts come around again, even if it feels a little funny when the things you remember from years ago are suddenly trending!
Step 5: Seal the Fabric Edges and Clean the Glass
With the plate upside down again, brush a second coat of Mod Podge over the exposed back of the fabric.
Give the edges extra attention. Sealing the cut edge helps keep the fabric from fraying over time. Work all the way around the circle rather than coating only the middle.
You will probably get a little Mod Podge on the exposed glass as you seal the edges. That is fine while you are working, but clean it off before it dries.
Use a baby wipe to carefully remove excess Mod Podge from the bare glass around the fabric and along the sides of the plate. The goal is to keep the fabric edges sealed while leaving the uncovered glass clean and smooth.
It is an easy project with a slightly delicate balance: enough Mod Podge to seal the fabric, but no extra coating where you do not need it.
Step 6: Let the Mod Podge Dry Clear
Set the plate aside to dry before attaching the magnet. The Mod Podge container I used listed a drying time of about 15 to 20 minutes.
Use the appearance as a check, too. The white, cloudy areas should become clear as the Mod Podge dries. Wait until the coating is dry before moving on.
Step 7: Glue the Magnet to the Center of the Bottom
Before gluing, test your magnet with a pin. I checked both sides of my ring magnet, and both attracted the pin. It is a quick check that is much nicer to do before everything is glued together!
Apply E6000 adhesive over one flat face of the magnet. Center it on the underside of the plate, over the dried fabric backing, and press it down.
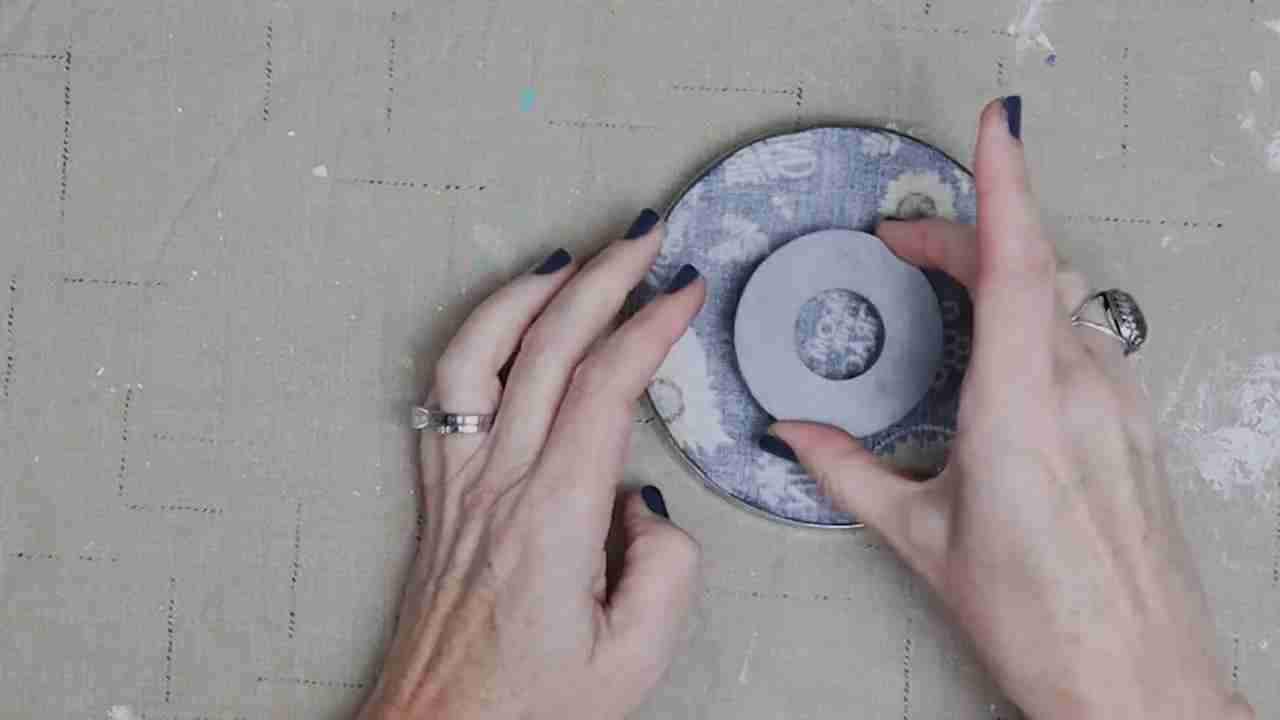
Centering the magnet helps distribute its pull across the dish. Leave the plate upside down while the adhesive dries so the magnet stays in position.
Follow the adhesive label for drying and curing instructions before putting the holder into regular use.
Step 8: Test Your Pin Holder and Make It Your Own
Once the adhesive is ready, turn the plate right side up and add your pins. I tested mine with straight pins and safety pins, and the magnet also attracted the tips of my small sewing scissors.
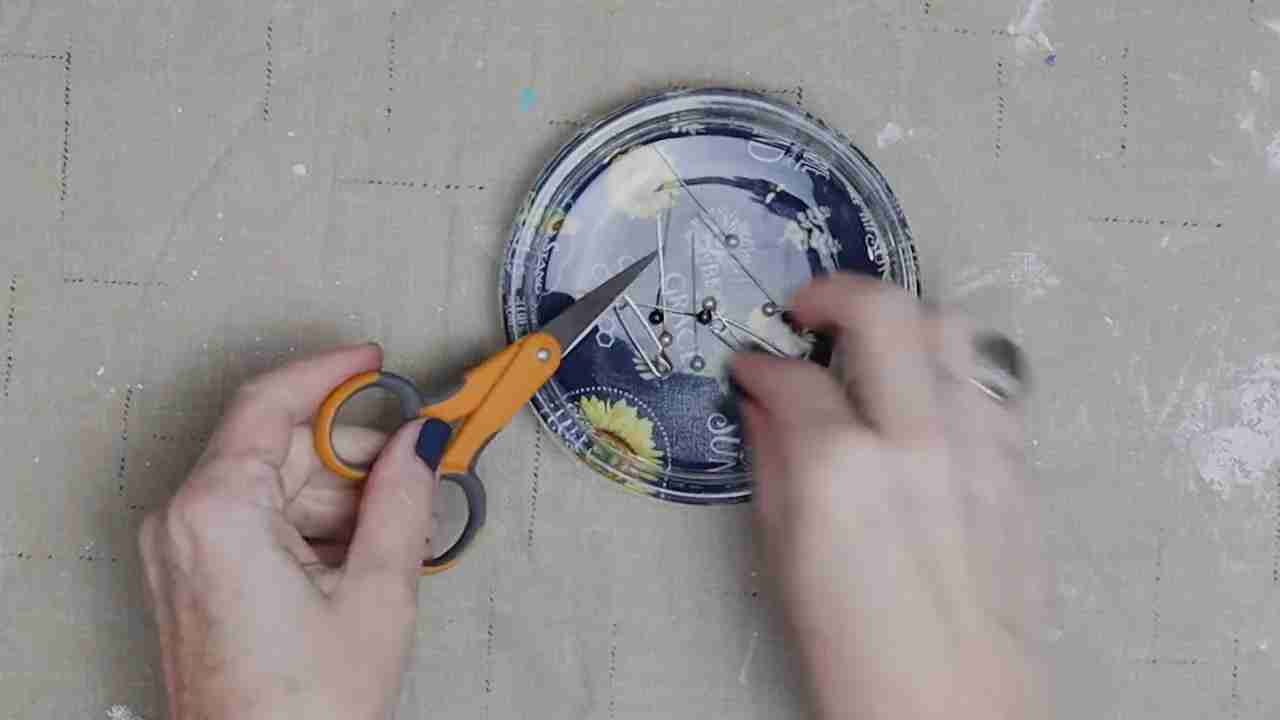
Now you have a useful sewing room accessory made with a fabric you actually love. That little scrap gets to be part of your workspace instead of staying tucked away in a bin.
Adapt It for Gifts, Groups, or Selling
There are plenty of ways to personalize this project beyond your own sewing table:
- Make a sewing gift: Choose fabric that suits the recipient and include pins with the finished tray.
- Make smaller versions: Use a smaller dish, making sure the magnet still fits underneath.
- Create a trinket tray: Skip the magnet and keep the fabric-covered glass dish as a decorative little catchall.
- Plan a group craft: The decoupage portion can be a fun project for kids’ groups or Scouts, with adult help as appropriate for the materials.
- Use a child’s artwork: Replace the fabric with a drawing for a special gift, especially for a grandmother.
These could make sweet Mother’s Day, Christmas, or teacher gifts. They are also a possible handmade item to sell, especially with a set of pins included. If you plan to sell them, familiarize yourself with the consumer product safety guidelines that apply in your country.
With or without the magnet, the best part is making the dish fit your style. Different fabric, completely different look, and no sewing required.
While you have the Mod Podge® out you might also like…
Easy No Sew Gift – DIY Clipboard Makeover with Fabric Scraps
